Keeping your carpets clean doesn’t always require professional help or expensive equipment. With the right knowledge and household ingredients, you can tackle most carpet cleaning challenges yourself. This comprehensive guide will show you how to clean, maintain, and restore your carpets using simple DIY methods that really work.
Whether you’re dealing with everyday dirt, stubborn stains, or persistent odours, these proven techniques will help you achieve professional-looking results at home. Let’s dive into the world of DIY carpet cleaning and discover how easy it can be to keep your floors looking fresh and pristine.
What NOT to Use: Common DIY Mistakes
Understanding Your Carpet Before You Clean
Before you start any DIY carpet cleaning project, it’s crucial to understand what type of carpet you’re working with. Different carpet fibres respond differently to cleaning methods and solutions.
Synthetic Carpets (Nylon, Polyester, Polypropylene)
Most modern carpets are made from synthetic fibres. These are generally more forgiving and can handle stronger cleaning solutions. According to The Home Depot’s carpet cleaning guide, synthetic carpets are safe with most cleaning solutions but should be properly dried to prevent flattening.
Natural Fibre Carpets (Wool, Cotton, Jute)
Natural fibres require gentler treatment. Wool carpets can shrink or become discoloured with heat or harsh chemicals. Always test any cleaning solution on an inconspicuous area first.
Testing Before Cleaning
Before applying any DIY carpet cleaning solution, test it on a hidden area. Mix your chosen cleaner according to the recipe, apply a small amount, wait 10 minutes, then blot with a white cloth. Check for any colour bleeding or texture changes.
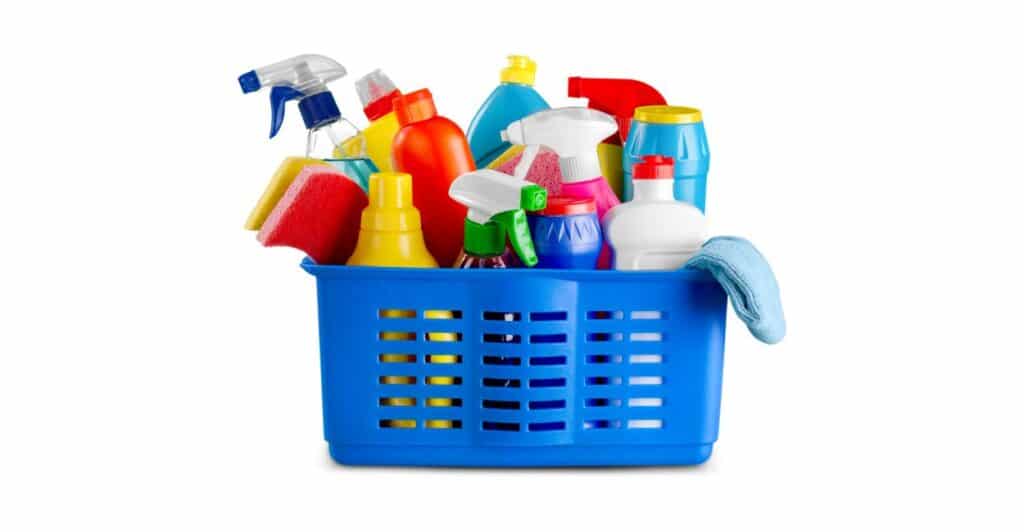
Essential DIY Carpet Cleaning Supplies
You don’t need expensive equipment to clean your carpets effectively. Most successful DIY carpet cleaning relies on common household items you probably already have.
Basic Cleaning Arsenal
- White vinegar (never use coloured vinegar)
- Liquid dish soap (clear, mild varieties work best)
- Clean white cloths or paper towels
- Spray bottles
- Soft-bristled brush or old toothbrush
- Vacuum cleaner
- Bucket for mixing solutions
Optional Power Boosters
- Hydrogen peroxide (3% solution only)
- Club soda
- Essential oils for fragrance
- Salt (for texture and gentle abrasion only)
These simple ingredients form the foundation of every effective DIY carpet cleaning method. They’re safe, affordable, and surprisingly powerful when used correctly.
Understanding Why Stains Return: The Wicking Problem
One of the most frustrating carpet cleaning experiences is when a stain appears to be gone, only to mysteriously reappear days or weeks later. This phenomenon is called “wicking,” and understanding it is crucial for successful DIY carpet cleaning.
What Is Wicking?
Wicking occurs when liquid spills penetrate through the carpet fibres into the carpet backing and underlay. Even when you successfully clean the surface stain, contaminated liquid remains trapped underneath. As the carpet dries, this liquid slowly travels back up through the fibres (like a candle wick), bringing the stain back to the surface.
Common Wicking Scenarios:
Red Wine Spills: Wine can penetrate deep into padding, and even after surface cleaning, the red pigments slowly return to the surface.
Pet Urine: Particularly problematic because urine often reaches the subfloor. The ammonia and bacteria can remain active underneath, causing both stain and odour to return.
Coffee and Juice: These liquids can seep through to the backing, and their sugars and acids continue to attract dirt even after cleaning.
Soft Drink Spills: The sugars in soft drinks create sticky residues in the padding that continue to attract soil and cause discolouration.
Why DIY Methods Have Limitations
Surface cleaning methods, while effective for many situations, cannot address deeply penetrated stains. The liquid trapped in the underlay requires powerful extraction equipment to remove completely. This is why some stains may need professional attention, particularly:
- Large spill areas
- Stains that have had time to penetrate deeply
- Pet accidents on older carpets
- Any spill that wasn’t addressed immediately
When Professional Help Is Essential
Persistent odours often indicate that contamination has reached the carpet underlay or subfloor. In these cases, even professional cleaners may need multiple attempts with powerful extraction equipment to fully resolve the issue. Some situations may require:
- Subfloor treatment
- Underlay replacement
- Specialised enzymatic treatments
- Multiple professional cleaning sessions
The Three Pillars of DIY Carpet Cleaning
Successful DIY carpet cleaning follows three essential principles: immediate action, proper technique, and patience. Master these fundamentals, and you’ll be amazed at what you can achieve.
Understanding the Limitations
While DIY methods are excellent for surface cleaning and fresh spills, it’s important to understand their limitations. Deep penetration issues like wicking may require professional intervention, especially when stains or odours persist despite multiple cleaning attempts.
Immediate Action Saves the Day
The golden rule of carpet care is simple: treat spills immediately. Fresh stains are exponentially easier to remove than set-in ones. As soon as something spills, blot (never rub) with a clean cloth to absorb as much liquid as possible. Immediate action prevents deep penetration that can lead to wicking problems later.
Proper Blotting Technique
Always blot from the outside of the stain toward the centre. This prevents the stain from spreading. Press down firmly but don’t scrub, which can damage carpet fibres and push the stain deeper into the backing where wicking can occur.
Patience Pays Off
Many DIY carpet cleaning methods require time to work. Rushing the process often leads to disappointing results. Allow cleaning solutions adequate time to break down stains and neutralise odours. However, be aware that some stains may reappear due to wicking, which indicates the need for professional extraction equipment.
DIY Carpet Cleaning Methods That Actually Work
Let’s explore the most effective DIY carpet cleaning techniques, starting with simple maintenance and progressing to deep cleaning methods. Remember, these methods work best on fresh stains and surface-level contamination.
The Weekly Refresh
Regular maintenance prevents dirt from embedding deep into carpet fibres. Start with thorough vacuuming, paying special attention to high-traffic areas. For enhanced cleaning, try this simple carpet maintenance approach:
- Vacuum thoroughly in multiple directions
- Treat any spots with a vinegar and water solution
- Allow to air dry completely
This method helps lift surface dirt that regular vacuuming might miss.
DIY Carpet Freshener
Create your own carpet freshener by mixing equal parts white vinegar and water in a spray bottle. Add 5-10 drops of your favourite essential oil. Lightly mist over carpets, let air dry, then vacuum. This natural freshener eliminates odours without harsh chemicals.
Deep Cleaning with Household Ingredients
The Ultimate Vinegar and Dish Soap Method
This powerful combination tackles both stains and odours effectively. Here’s how to use it for deep cleaning:
What You’ll Need:
- 500ml white vinegar
- 500ml warm water
- 1 tablespoon mild dish soap
- Spray bottle
- Clean cloths
Step-by-Step Process:
- Vacuum the carpet thoroughly
- Mix vinegar, water, and dish soap in a spray bottle
- Spray the solution evenly over the carpet area
- Let the mixture work for 15-20 minutes
- Blot with clean cloths, working from outside to center
- Rinse with clean water and blot again
- Allow to air dry completely
- Vacuum once dry to restore carpet texture
The Gentle Dish Soap Solution
For regular deep cleaning without the fizzing action, try this milder approach:
- 1 teaspoon mild dish soap
- 1 litre warm water
- 1 teaspoon white vinegar
This solution works well for overall carpet cleaning and is gentle enough for delicate fibres. Apply with a spray bottle, work in gently with a soft brush, then blot dry.
Tackling Specific Stains with DIY Solutions
Different stains require different approaches. Here are proven DIY methods for common carpet disasters.
Coffee and Tea Stains
Coffee spills are inevitable, but they don’t have to be permanent. For fresh coffee stains:
- Blot immediately with paper towels
- Mix 1 tablespoon white vinegar, 1 tablespoon dish soap, and 2 cups warm water
- Apply solution and blot repeatedly
- Rinse with clean water and blot dry
For older coffee stains, allow the area to dry completely first, then apply the cleaning solution. Patience is key with dried coffee residue.
Red Wine Stains
Don’t panic when red wine hits your carpet. This method, recommended by cleaning experts, really works:
- Blot up as much wine as possible
- Pour a small amount of white wine over the red wine (it helps neutralise the colour)
- Blot again
- Apply club soda and continue blotting
- If stain persists, mix 1 cup hydrogen peroxide with ½ teaspoon dish soap
- Apply to a light-coloured cloth and dab the stain
- Let sit 5-10 minutes, then rinse with water
Grease and Oil Stains
Greasy stains require a different approach because oil and water don’t mix well:
- Blot up excess grease with paper towels (don’t rub)
- Apply dish soap directly to the stain
- Let it sit for 10-15 minutes to break down the grease
- Blot with a damp cloth
- Rinse with warm water and blot dry
- Repeat if necessary
Important: Never use powdered substances like flour or cornstarch on grease stains. These create a sticky paste that embeds in carpet fibres and can damage your vacuum cleaner.
Pet Stains and Odours
Pet accidents require quick action and the right approach to prevent permanent staining and odours:
For Fresh Pet Urine:
- Blot up as much liquid as possible
- Mix 500ml white vinegar with 500ml warm water
- Apply liberally to the area
- Let sit for 15 minutes
- Blot thoroughly and rinse with clean water
For Dried Pet Stains:
- Moisten the area slightly with water
- Apply the vinegar and water solution
- Let sit for 30 minutes
- Scrub gently with a soft brush
- Blot and rinse thoroughly
The vinegar neutralises ammonia in urine and helps eliminate odours naturally.
Mud and Dirt Stains
Let mud stains dry completely before attempting removal. This prevents the mud from spreading:
- Allow mud to dry completely
- Vacuum up loose dirt
- Mix 1 tablespoon dish soap with 500ml warm water
- Apply solution and let sit for 10 minutes
- Blot with clean cloth
- Rinse and blot dry
For stubborn mud stains, let the area dry completely, then use a soft brush to gently loosen dried particles before applying the soap solution.
Advanced DIY Carpet Cleaning Techniques
Once you’ve mastered basic stain removal, these advanced techniques can help you tackle more challenging cleaning situations.
The Gentle Agitation Method
If you don’t have a steam cleaner, you can create an effective deep cleaning treatment using careful technique:
- Mix 1 part white vinegar with 3 parts warm water
- Spray lightly over the carpet area
- Use a soft-bristled brush to gently work the solution into fibres
- Blot with clean cloths to remove dirt and solution
- Rinse with clean water
- Blot dry and allow to air dry completely
This method helps lift embedded soil through gentle mechanical action combined with the cleaning power of vinegar.
The Hydrogen Peroxide Power Treatment
For light-coloured carpets with stubborn stains, hydrogen peroxide can be incredibly effective:
Safety First:
- Only use 3% hydrogen peroxide
- Test in an inconspicuous area first
- Wear gloves and ensure good ventilation
- Never use on dark carpets (it can cause bleaching)
Application Method:
- Blot the stain to remove excess liquid
- Apply hydrogen peroxide directly to the stain
- Let it bubble for 30 seconds
- Blot with a clean cloth
- Rinse thoroughly with water
- Blot dry
Club Soda Magic
Club soda is surprisingly effective for various stains, particularly wine and juice spills:
- Pour club soda directly onto the fresh stain
- Let it bubble for 10-15 minutes
- Blot with a microfiber cloth
- Repeat if necessary
- Rinse with clean water and blot dry
The carbonation helps lift stains from carpet fibres, making them easier to remove.
Creating Your Own DIY Carpet Cleaning Solutions
Making your own carpet cleaning solutions is cost-effective and allows you to control ingredients. Here are three versatile recipes that tackle different cleaning challenges.
All-Purpose DIY Carpet Cleaner
This gentle solution works for regular cleaning and most stains:
Ingredients:
- 500ml distilled white vinegar
- 500ml water
- 1 tablespoon mild dish soap
- Few drops of essential oil (optional)
Instructions:
- Mix all ingredients in a spray bottle
- Shake gently to combine
- Add essential oil if desired
- Use within one week for best results
- Shake before each use
Heavy-Duty Stain Fighter
For tough, set-in stains that won’t budge:
Ingredients:
- 250ml hydrogen peroxide (3%)
- 125ml warm water
- 1 teaspoon natural dish soap
Instructions:
- Mix all ingredients in a bowl
- Apply directly to stain
- Let sit for 10-15 minutes
- Blot with clean cloth
- Rinse thoroughly with water
Natural Odour Eliminator
Perfect for pet odours and general carpet freshening:
Ingredients:
- 500ml white vinegar
- 250ml water
- 1 teaspoon ground cinnamon
- 10-15 drops essential oil
Instructions:
- Mix all ingredients in a spray bottle
- Shake well to combine
- Spray lightly over carpet areas
- Allow to air dry completely
- The vinegar smell will dissipate, taking other odours with it
Note: Never use powdered deodorizers like cornstarch or flour on carpets. These create sticky messes when they get wet and can damage your vacuum cleaner.
When DIY Isn’t Enough
While DIY methods are surprisingly effective, there are times when professional help is necessary. Recognising these situations can save you time and prevent carpet damage.
Signs You Need Professional Help:
- Stains cover large areas
- Multiple cleaning attempts have failed or stains keep returning (wicking)
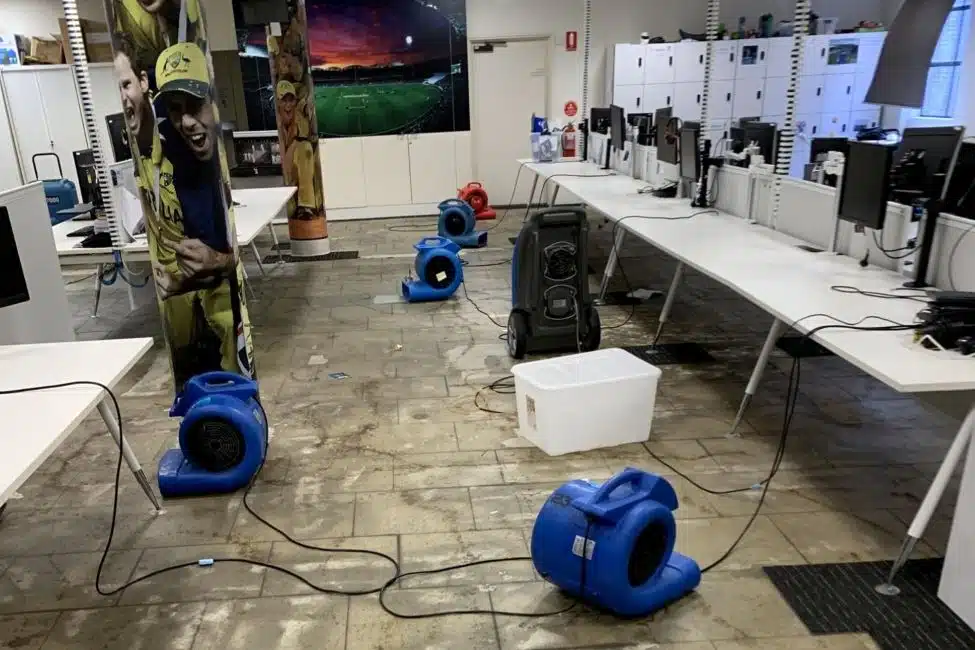
- The carpet has a strong, persistent odour even after thorough DIY cleaning
- Water damage has occurred
- Stains have been present for months or years
- Pet accidents that may have reached the subfloor
- Any situation where you suspect deep underlay contamination
For these situations, consider professional carpet cleaning services that have powerful extraction equipment and expertise to address deep-penetration issues that DIY methods cannot reach.
Stains That Usually Require Professional Treatment:
- Permanent ink or paint
- Large pet urine areas that have soaked into padding
- Bleach spots
- Paint or nail polish
- Blood (especially large amounts)
- Any stain that repeatedly returns after DIY treatment (indicating wicking)
- Stains accompanied by persistent odours
Important Note: Even professional cleaners may need multiple treatment sessions for deeply penetrated stains. Contamination that has reached the subfloor or has been present for extended periods can require several attempts with powerful extraction equipment to fully resolve.
Maintaining Your Carpets Between Deep Cleans
Regular maintenance extends the time between deep cleaning sessions and keeps your carpets looking their best.
Daily and Weekly Habits
Daily Maintenance:
- Address spills immediately
- Use door mats to reduce tracked-in dirt
- Remove shoes at entry points
- Quick vacuum of high-traffic areas
Weekly Maintenance:
- Thorough vacuuming of all carpeted areas
- Spot treat any new stains
- Apply baking soda freshener if needed
Monthly Deep Maintenance
Once a month, give your carpets extra attention:
- Move furniture to vacuum underneath
- Treat any developing stains with appropriate DIY solutions
- Apply an all-over baking soda treatment
- Check for wear patterns that might need professional attention
Seasonal Carpet Care
Different seasons bring different challenges for carpet care:
Winter: Focus on salt and mud removal from snow and rain Spring: Deep clean to remove winter buildup and allergens Summer: Address any humidity-related odours Autumn: Prepare carpets for increased indoor time
Troubleshooting Common DIY Carpet Cleaning Problems
Even with the best intentions, DIY carpet cleaning can sometimes go wrong. Here’s how to fix common issues.
Problem: The Stain Came Back
Why it Happens: This is often due to wicking, where contamination trapped in the underlay slowly returns to the surface. It can also result from residue that attracts dirt.
Solution:
- If the returning stain looks exactly like the original, this indicates wicking
- For surface residue issues, rinse thoroughly with clean water and blot
- Apply a vinegar and water solution (1:1 ratio) to neutralise any remaining residue
- If the stain returns repeatedly, it has likely penetrated to the underlay and requires professional extraction cleaning
When to Call Professionals: Repeated stain reappearance usually indicates deep penetration that DIY methods cannot address effectively.
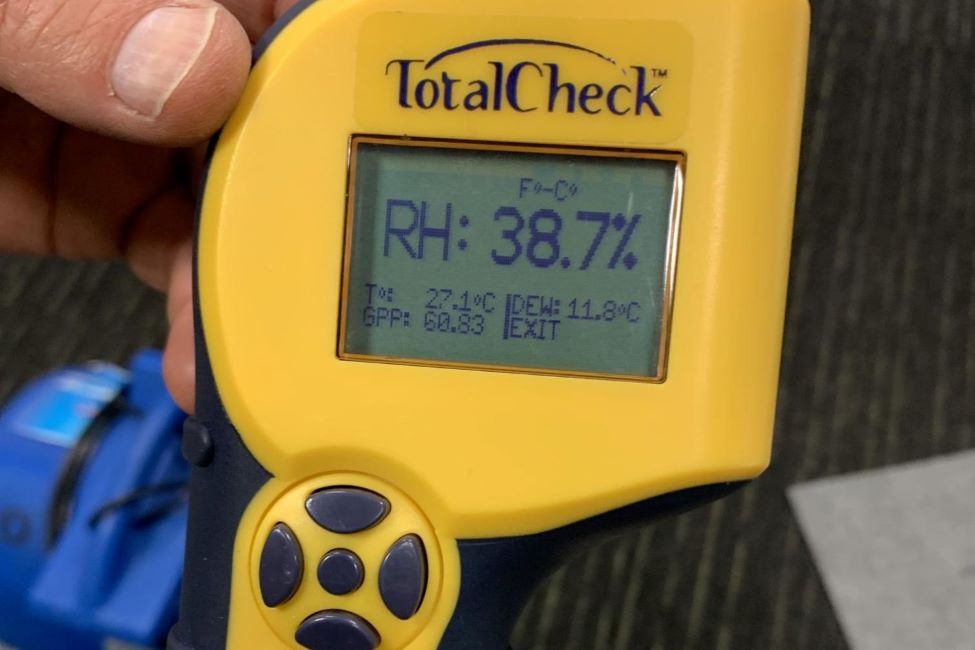
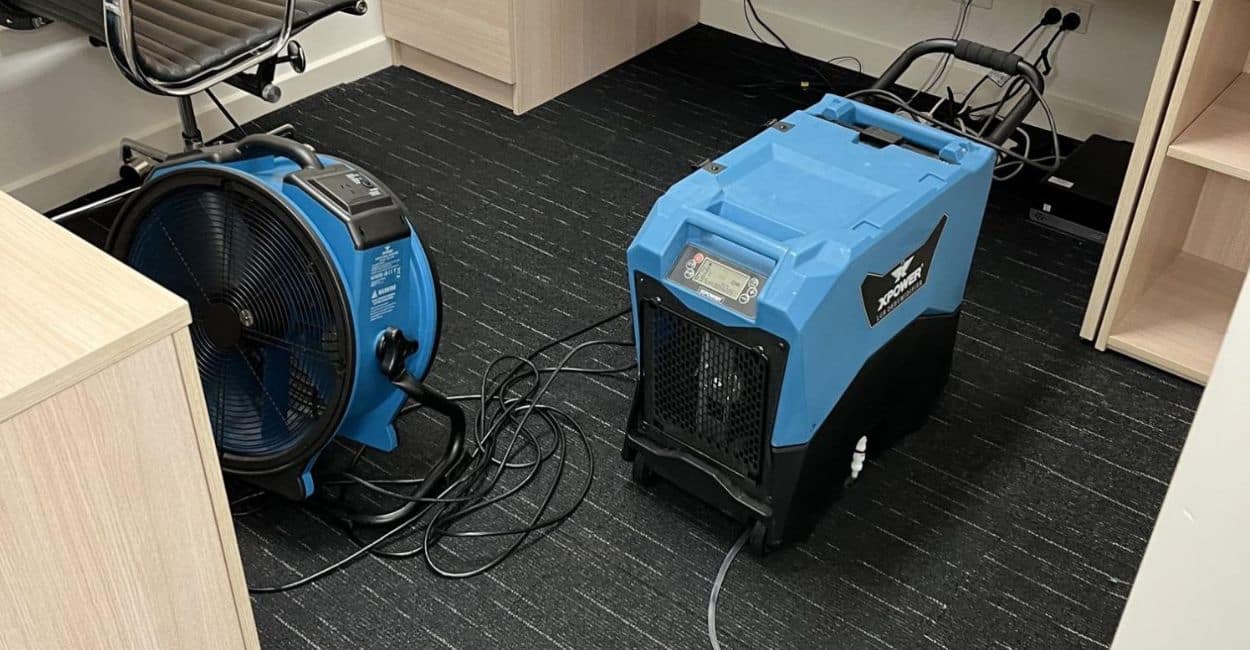
Problem: The Carpet Smells Worse After Cleaning
Why it Happens: Trapped moisture can cause mould or mildew
Solution:
- Ensure complete drying with fans and dehumidifiers
- Apply baking soda liberally and let sit overnight
- Vacuum thoroughly
- If smell persists, contact our emergency cleaning services
Problem: The Carpet Looks Dull or Flat
Why it Happens: Over-wetting or using too much soap
Solution:
- Use a carpet rake or brush to lift fibres
- Ensure complete drying before foot traffic
- Use less solution in future cleaning attempts
Problem: Cleaning Solution Left Residue
Why it Happens: Not enough rinsing or using too much cleaning product
Solution:
- Rinse thoroughly with clean water
- Blot until no bubbles appear when you press down
- Use a 50/50 vinegar and water solution to cut through soap residue
- Final rinse with clean water
The Economics of DIY Carpet Cleaning
DIY carpet cleaning offers significant cost savings compared to professional services, but it’s important to understand the true costs and benefits.
Cost Comparison
Professional Cleaning: $40-80 per room DIY Cleaning: $5-12 per room using homemade solutions
Annual Savings: For a typical home with 3-4 carpeted rooms, DIY cleaning can save $300-600 per year
Investment in Supplies
Building your DIY carpet cleaning arsenal requires minimal upfront investment:
- White vinegar: $4-6
- Dish soap: $3-5
- Spray bottles: $8-15
- Cleaning cloths: $15-20
- Soft-bristled brush: $5-8
Total Initial Investment: Under $50 for supplies that will last many cleaning sessions
Time Investment
DIY carpet cleaning requires more time than professional services:
- Spot cleaning: 10-15 minutes per stain
- Room deep cleaning: 2-4 hours including drying time
- Preparation and cleanup: 30-60 minutes
However, the ability to clean immediately when spills occur often prevents stains from setting, ultimately saving time.
Safety Considerations for DIY Carpet Cleaning
While household cleaning ingredients are generally safe, proper precautions ensure safe and effective cleaning.
Ventilation
Always ensure adequate ventilation when using cleaning solutions:
- Open windows and doors
- Use fans to circulate air
- Take breaks if you feel lightheaded
Chemical Mixing Safety
Never Mix:
- Bleach with ammonia (creates toxic gas)
- Hydrogen peroxide with vinegar (creates unstable compounds)
- Multiple commercial cleaners together
Safe Combinations:
- Vinegar and dish soap (safe and effective)
- Dish soap and water
- Hydrogen peroxide and water (in proper ratios)
Pet and Child Safety
When using DIY cleaning solutions around pets and children:
- Keep the area clear during cleaning
- Ensure complete drying before allowing access
- Store ingredients safely between uses
- Choose pet-safe ingredients like vinegar and mild dish soap
Creating a DIY Carpet Cleaning Schedule
Consistency is key to maintaining beautiful carpets. Create a schedule that fits your lifestyle and carpet traffic levels.
High-Traffic Areas (Living Rooms, Hallways)
Weekly: Thorough vacuuming and spot treatment Monthly: Deep cleaning with DIY solutions Quarterly: Professional cleaning or intensive DIY treatment
Medium-Traffic Areas (Bedrooms, Dining Rooms)
Weekly: Regular vacuuming Bi-monthly: DIY deep cleaning Twice yearly: Professional or intensive DIY cleaning
Low-Traffic Areas (Guest Rooms, Formal Spaces)
Weekly: Light vacuuming Quarterly: DIY deep cleaning Annually: Professional cleaning
For businesses requiring more frequent attention, consider commercial cleaning schedules that balance maintenance with productivity.
Advanced Stain Prevention Strategies
Prevention is always easier than removal. These strategies help minimise carpet stains and extend the time between deep cleaning sessions.
Protective Measures
Scotchgard or Fabric Protector: Apply annually to high-traffic areas Strategic Furniture Placement: Use furniture to direct traffic flow Area Rugs: Place in front of sofas and under dining tables Regular Professional Cleaning: Annual deep cleaning maintains carpet health
Immediate Response Kit
Keep these items easily accessible for quick stain response:
- Clean white cloths
- Spray bottle with water
- Mild dish soap
- White vinegar
- Soft-bristled brush
Important: Keep powdered substances away from carpet stains. They create sticky messes and can damage your vacuum cleaner.
Quick access to cleaning supplies means faster response time, which dramatically improves stain removal success rates.
The Environmental Benefits of DIY Carpet Cleaning
Choosing DIY carpet cleaning methods offers significant environmental advantages over commercial products and services.
Reduced Chemical Exposure
Most commercial carpet cleaners contain harsh chemicals that can:
- Linger in indoor air for days
- Cause respiratory irritation
- Leave residues that attract more dirt
- Impact indoor air quality
DIY solutions using vinegar, dish soap, and natural ingredients are non-toxic and biodegradable.
Packaging Reduction
Making your own cleaning solutions eliminates plastic packaging waste from commercial cleaners. A single bottle of vinegar can replace dozens of commercial cleaning products.
Carbon Footprint
DIY carpet cleaning reduces your carbon footprint by:
- Eliminating transportation for professional services
- Reducing manufacturing and shipping of commercial products
- Using simple, natural ingredients with minimal processing
Future-Proofing Your Carpet Investment
Proper DIY carpet care protects your investment and extends carpet life significantly.
Understanding Carpet Warranties
Many carpet warranties require regular professional cleaning, but they also recognise proper DIY maintenance:
- Keep records of your cleaning schedule
- Use pH-neutral cleaning solutions
- Avoid over-wetting
- Address stains promptly
Signs Your Carpet Needs Replacement
Even with excellent care, carpets eventually need replacement. Watch for:
- Permanent staining despite cleaning efforts
- Worn traffic patterns
- Persistent odours after thorough cleaning
- Visible wear at the base of fibres
When these signs appear, it’s time to start planning for carpet replacement rather than continued cleaning efforts.
Mastering DIY Carpet Cleaning
DIY carpet cleaning is both an art and a science. With the right knowledge, tools, and techniques, you can achieve professional-quality results while saving money and controlling the ingredients in your home.
The key to success lies in understanding your carpet type, acting quickly on spills, using proven cleaning solutions, and maintaining consistent care routines. Whether you’re dealing with everyday maintenance or tackling stubborn stains, these DIY methods provide effective, affordable solutions.
Remember that while DIY methods handle most cleaning challenges excellently, there are times when professional expertise is invaluable. Knowing when to call in the experts is part of being a savvy carpet care manager.
Start Your DIY Carpet Cleaning Journey Today
Begin with simple maintenance techniques and gradually work up to more advanced methods. Keep your cleaning supplies stocked and easily accessible. Most importantly, don’t let spills sit – immediate action is your greatest ally in maintaining beautiful carpets.
Your carpets are a significant investment in your home’s comfort and appearance. With these DIY techniques in your arsenal, you can keep them looking fresh, clean, and beautiful for years to come. When you do need professional assistance, trust the experts at The Squeaky Clean Team at 1300 682 563 for services that complement your DIY efforts perfectly.